Sunday, July 29, 2012

Functional Playroom Barrier

We decided to use the dining room as a playroom for the next few years. Eventually we'll put the playroom in the basement, once our little man can walk up and down the stairs by himself safely. The kitchen has a good view of the dining room, and we don't have a large dining table anyway, so this solution works out nicely for now. The only problem was how to barricade off such an open space.

Looking into the dining room from the kitchen
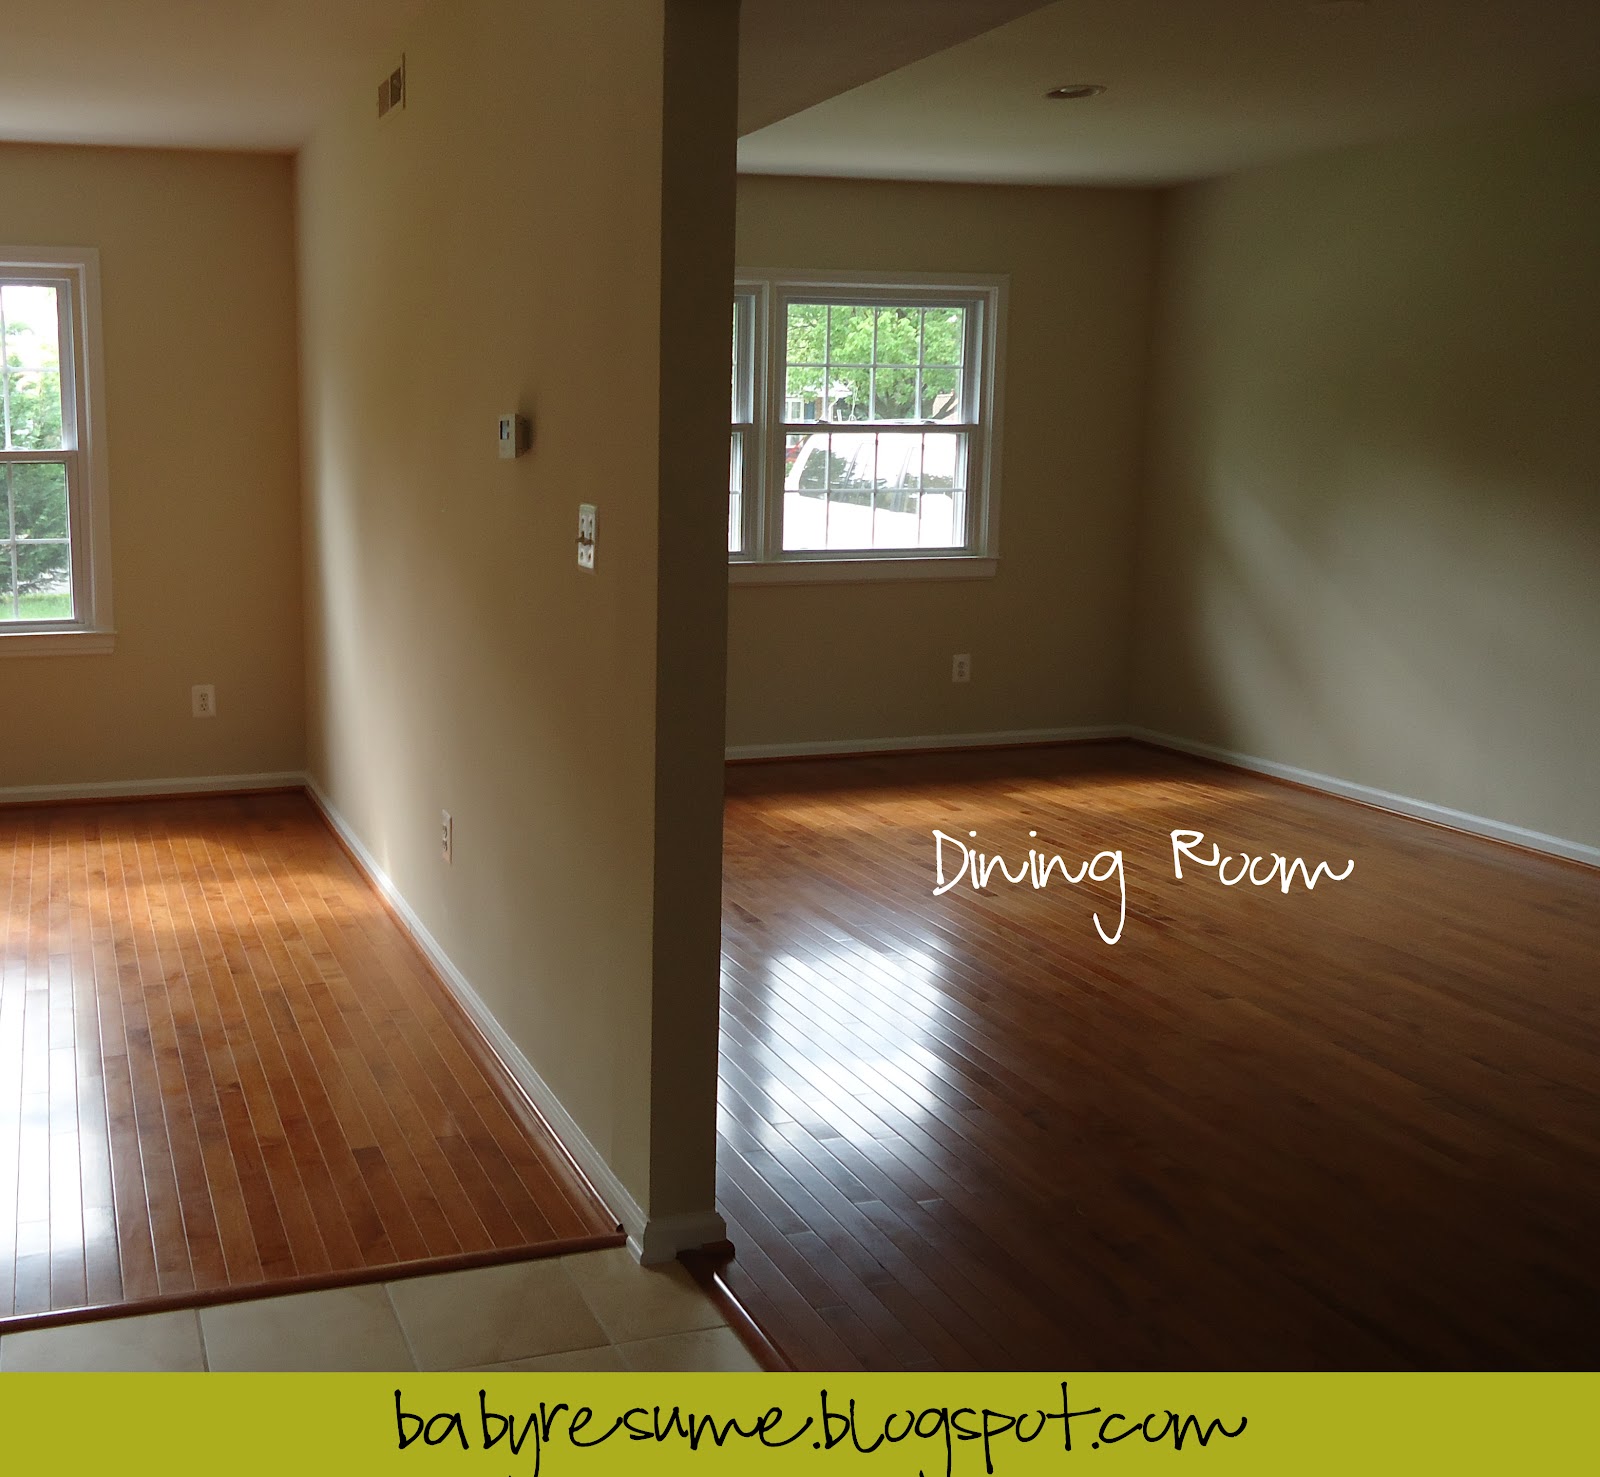
Looking into the kitchen from the dining room
I know that they make gates that can span this (it's 11' 10"), but they are pretty expensive and don't have many great uses once your kids don't need them anymore. My solution was to buy 2 bookshelves and put a gate between them. This way we would not only have a barricade, but extra toy storage as well - and we could use the bookshelves for other purposes in the future.

I went to Ikea and picked up 2 of the white Expedit double shelves for $69.99/ea.


 Notice anything wrong with this picture?!

I did realize before purchasing the shelves that they didn't have a back to them. However, 2 of these shelves were still cheaper than 1 of a similar shelf from Target, so I figured I could work with it. Preston and I went to Lowes and picked up some marker board to back the shelves. We brought the shelf measurements with us and they cut it for us. The marker board is the perfect thickness to work as a backing, plus it's white, so it looks like it is meant to be a part of the shelves... and the most exciting part - it's marker board! We can have fun writing on it (though Marshall probably won't be allowed to do this until he's old enough to understand that it's marker board and it's not okay to draw on all furniture).

We used some small wire nails to nail the board to the back of the shelves.


...and voila! We have backed shelves. My only disappointment is that I wasn't able to find any contact paper that I loved prior to nailing the board on. We had to get the board up because Marshall started crawling just as this project was kicking off! It's hard to see from this picture, but the back of the marker board is that ugly, fibery brown board. I suppose I could have painted it, but we just moved in and didn't need one more thing to do. Ideally, I would have lined this with contact/shelf paper before nailing the board to the back. When I do find some that I like, I'll have to decide whether to pull the board off, or go through the pain of cutting 16 squares and trying to line them from the inside! Yikes!

The final step in Project Barrier was to install the baby gate.

When I measured the floor space, I knew that this solution would be 1/4 inch too long for the floor space we had. My plan was to cut the quarter round moulding on one side since this is easy enough to replace. Instead, Preston rigged the gate to fit. He used zip ties to hold the gate together and make it 1/4 inch shorter. I was against this at first, but it ended up working quite well. I want to stress here that the only reason I ended up being okay with this is that this gate is only being used as a barrier. If it were being used for safety, such as at the top of the stairs, we would not have taken this shortcut. That said, it is actually very sturdy and I have no concerns that it will shift and pinch Marshall or anything like that.

The finished barrier works quite well and it's nice, useable storage space.

Functional Playroom Barrier


Functional Playroom Barrier

Friday, July 27, 2012

Garden Discovery

This has appeared in our garden.


After some Googling, I figured out that it's Portulacaria Afra, also called Elephant's Food, also (aptly) called Red Stem. I was glad to find that it's not a weed - I think it's pretty. It does apparently get quite large - though it's also grown as bonsai, so it could be trained.

Our front garden has no shade at all, so it needs plants that can hold up to the beating sun and the heat and humidity of the summers here. I think I'll keep this guy around.

Since we just moved into our new house in mid-June, I'm only focusing on the yard basics this summer. Next year I'll have some grander plans for the gardens, etc.